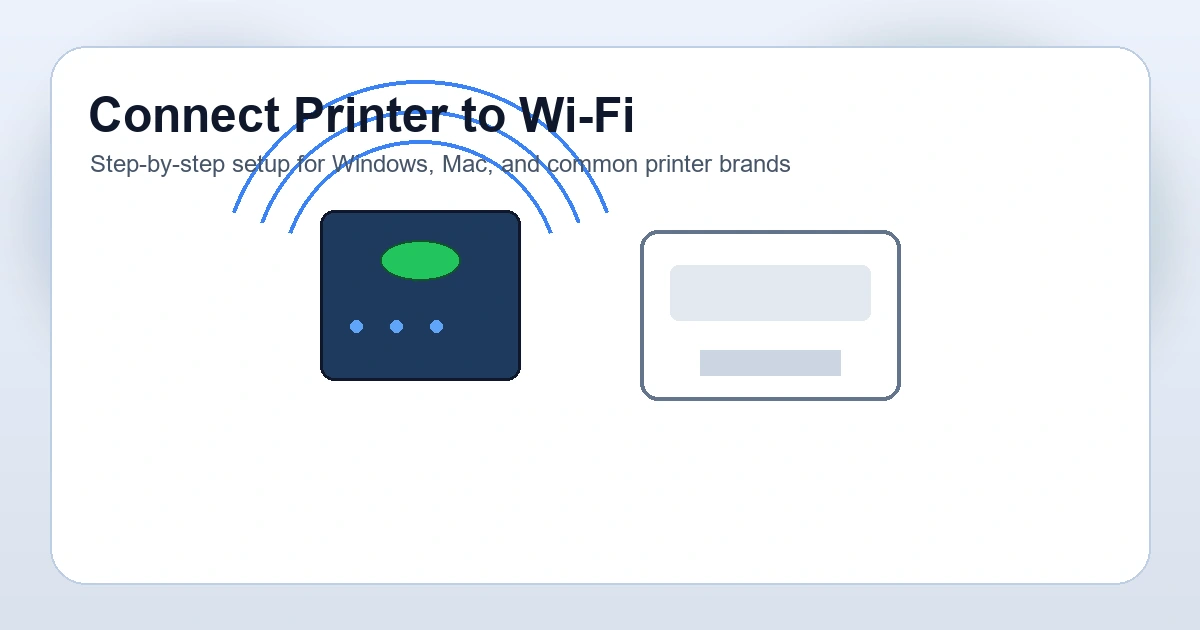
Connecting a printer to Wi‑Fi lets every device on the same network print without USB cables. Most printers support Wi‑Fi setup from the control panel, WPS, or a manufacturer mobile app. This guide explains the common paths and what to check when setup fails.
Before You Start
Gather the following:
- Your Wi‑Fi network name (SSID) and password - The printer powered on and within good range of the router - A phone or PC on the same Wi‑Fi band when possible (many printers only join 2.4 GHz; dual‑band routers often show separate names like MyWiFi vs MyWiFi-5G)
If your printer repeatedly fails on 5 GHz, try the 2.4 GHz SSID from your router’s label or admin page.
Method 1: WPS (Fast When Supported)
WPS pairs the printer and router with a button press.
1. On the router, enable WPS (or press the WPS button if your model uses physical pairing). 2. On the printer, open Network or Wireless settings → Wi‑Fi Protected Setup or WPS. 3. Choose Push Button and start WPS on the router within the time window shown on the printer.
If WPS is disabled on your router for security, use another method below.
Method 2: Printer Touchscreen or Panel Setup
1. Open Setup, Network, or Wireless Settings on the printer. 2. Choose Wireless Setup Wizard or SSID Setup. 3. Select your SSID, enter the Wi‑Fi password carefully (watch caps lock), and confirm.
Print a network configuration or wireless test page from the printer menus to confirm it received an IP address.
Method 3: Manufacturer App (HP Smart, Canon PRINT, Epson Smart Panel, etc.)
1. Install the official app from your printer maker on your phone or tablet. 2. Add a printer and follow Wi‑Fi setup; the app often transfers credentials from the phone to the printer over a temporary connection.
This is helpful when the printer screen is small or the menu path is confusing.
Add the Printer on Windows
After the printer is on Wi‑Fi:
1. Open Settings → Bluetooth & devices → Printers & scanners. 2. Click Add device and wait for your printer to appear. 3. If it does not show up, click Add manually and choose TCP/IP or network printer, then enter the IP address from the printer’s network report.
Install the full driver from the manufacturer if Windows only adds a generic driver.
Add the Printer on Mac
1. Open System Settings → Printers & Scanners. 2. Click +, select your printer if it appears, or use IP tab with the printer’s address. 3. Pick the correct driver or AirPrint if offered.
Common Wi-Fi Setup Problems
Wrong password or SSID — Re-enter the password; copy-paste from your router admin page if needed.
Printer and PC on different networks — Guest networks often isolate clients. Use the main LAN Wi‑Fi.
Firewall or VPN — Temporarily disable strict VPN or allow the printer through the firewall for setup.
Router changes — New router or password means you must run wireless setup on the printer again.
Still Can’t Connect?
If the printer never gets an IP address or drops offline constantly, there may be a weak signal, MAC filtering, or a deeper network issue. For guided help with your model, call +1-888-804-0557.